Autonomous Driller
Abstract
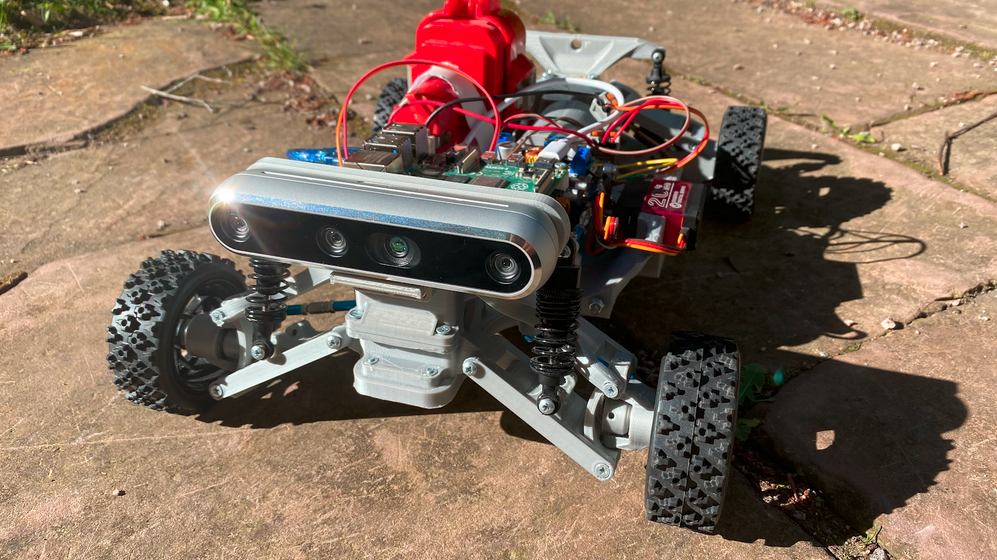
In this project, I build a 3D printed, autonomous car for exploration and delivery. The main idea is to let the car drive around by itself and find humans to serve chocolate on demand. For the mapping, exploration and human detection, I use a Depth Camera from Intel. You are curious about Why the hell is it called a driller?. You can find it out here.
Background story
After I finished my main goal for the 2WD ROSduion, I wanted to make an autonomous upgrade. So I went on google and looked for prices of:
- Raspberry Pi Camera Module ~ US$ 50
- RP LIDAR ~ US$ 120
- Depth Camera ~ US$ 240
If you compare the prices to the base set for the 2WD ROSduino (~US$ 40), this would be clearly an overkill for me. So what now?
Together with the coincidence with my dad, showing me his broken drilling machine, I decided to start a new project, the autonomous driller.
What has the car to do with a “driller”?
At the time, when I was thinking about making 2WD ROSduion an autonomous car, my dad once came to me. He had an old drilling machine in his hands and asked me:
Do you need parts from this? It is broken and I do not need it anymore.
It was an ‘Eureka!’ moment for me. I decided to start something bigger: A car with a drilling machine engine.
I did not even know how it looked like from the inside. So I opened the case and took a glimps:
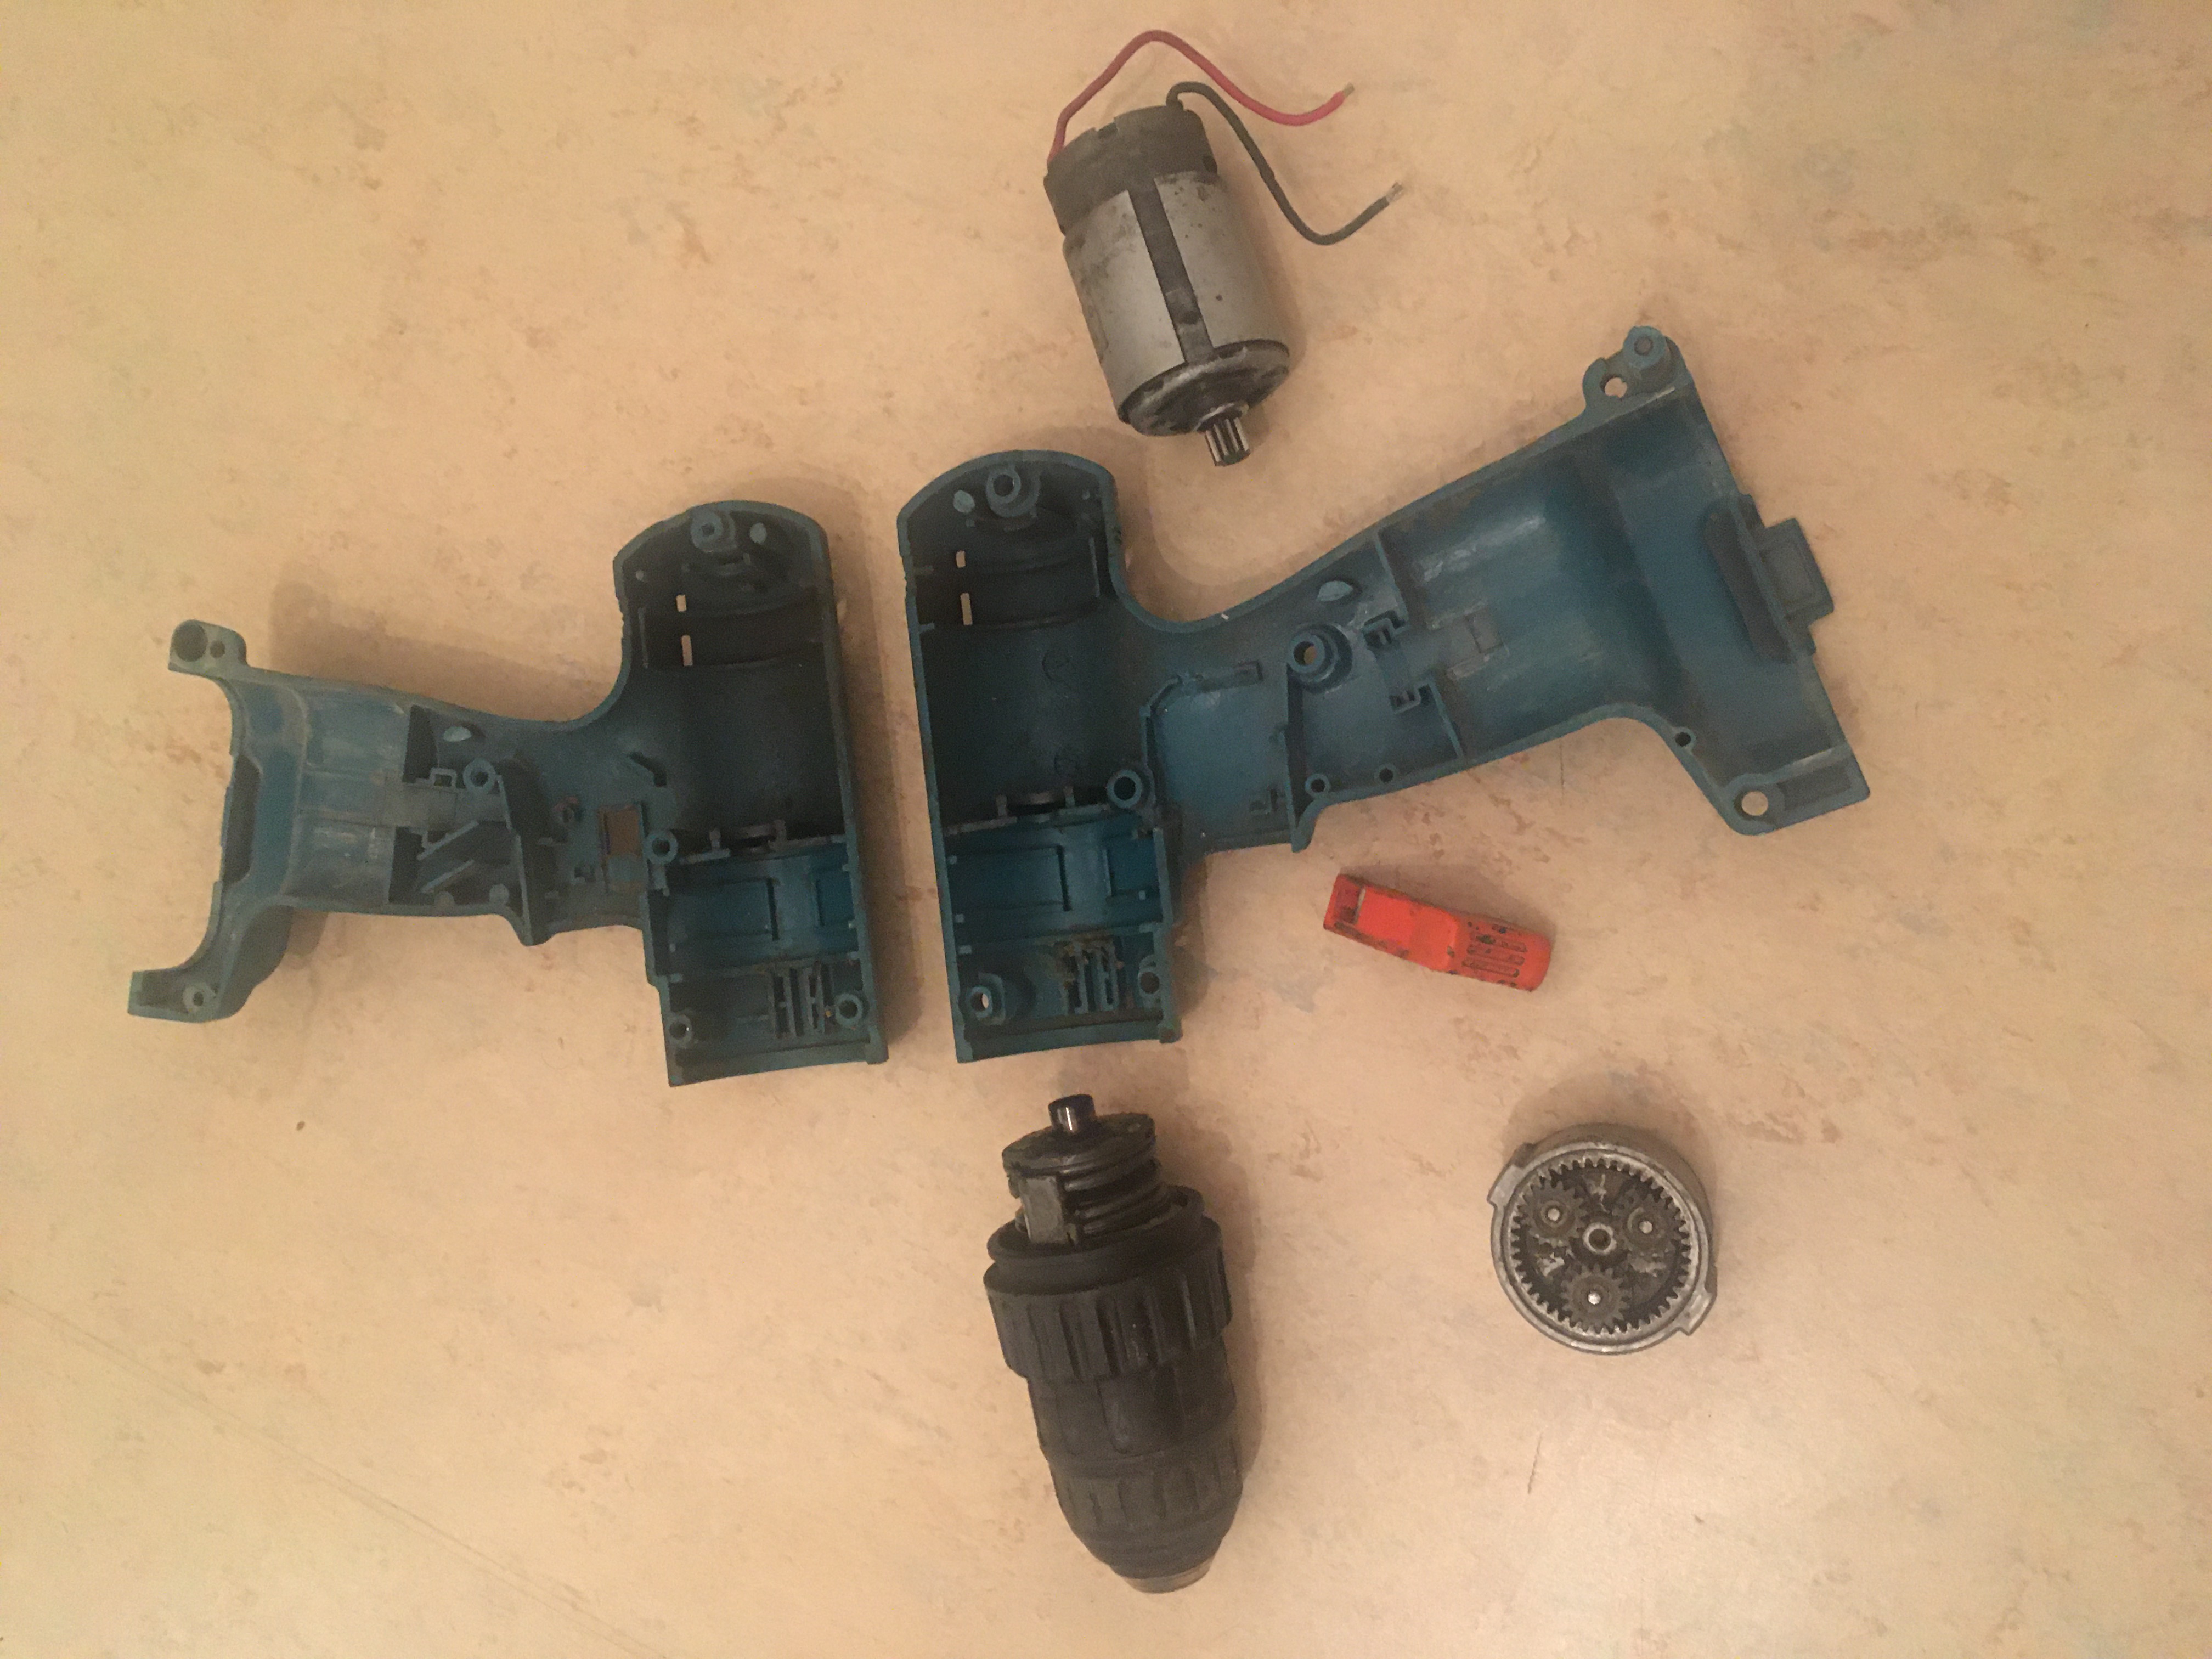
From an engineering point of view, it was a beautiful moment. Opening the case and seeing the planetary gear with an incredible translation and the very small electric engine. Sooner, I would find out, that this little engine had about
750 watt [W] = 1 horsepower [HP]
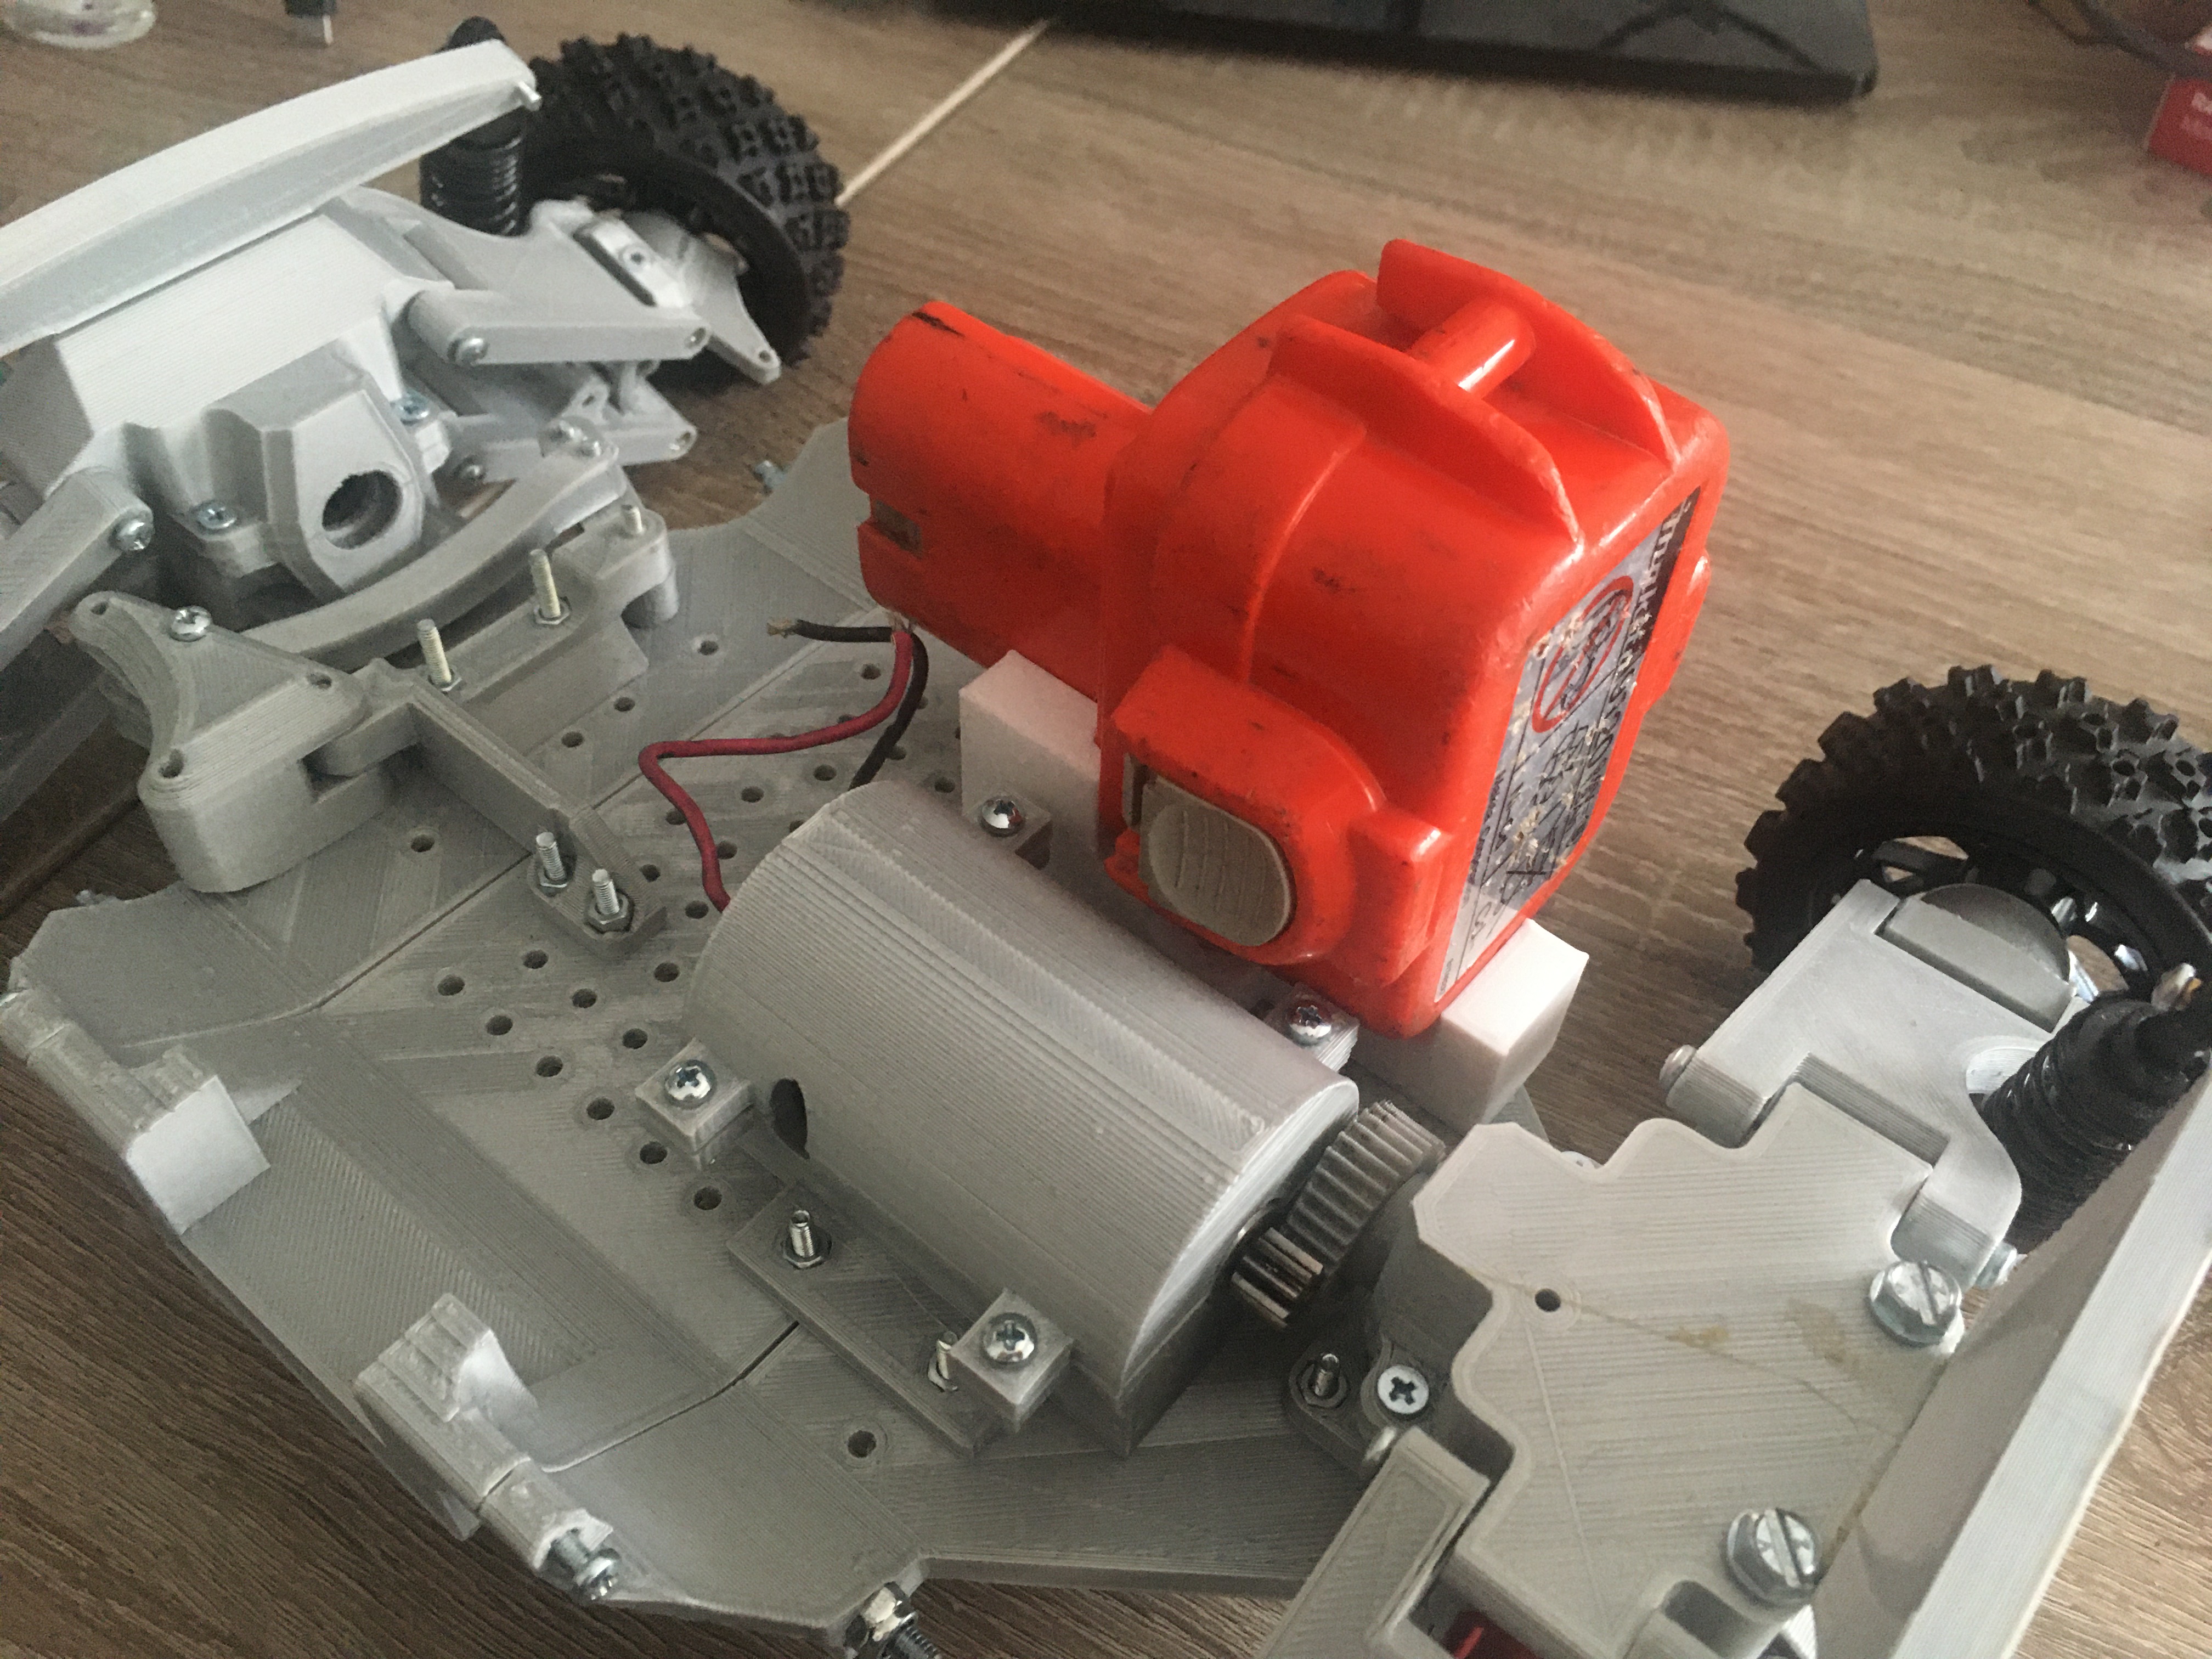
which is about 30 times more than the ROSduino engines (which have max. 25 W)! Before I thought about the car itself, I had to figure out how to control the old engine. I did not even know which parts of the drilling machien were broken. I bought a PWM (pulse width modulation) MOSFET engine controller to test the capabilities. And it worked! Which meant, I can go on and figure out how to build the body of the car. See me struggling to hold the engine while testing:
From aluminium sheets to 3d printer
Now, that I knew the engine and the controller work together, I could start with the body of the car. Even though I studied mechanical engineering in my bachelors degree, I did not take any courses about cars. So I went on google to see, how over 200 years of engineering evolved the car manufacturing. I found some sources about how wheel suspension, gears and steering is designed.
Afterwards, I made a rough sketch, went to the company of my dad and started to build a prototype from aluminium sheets. I mainly searched for waste, just to get a feeling of how much work it is and what the outcome would look like. Here is my quarter Car:
The result looked quite ok’isch. Nothing beautiful, but it worked. I knew, I had to weld some thicker parts together to make the chassis more durable. Since I did not have a welding machine, I knew it was going to get tough. So I decided to try a 3d printer approach.
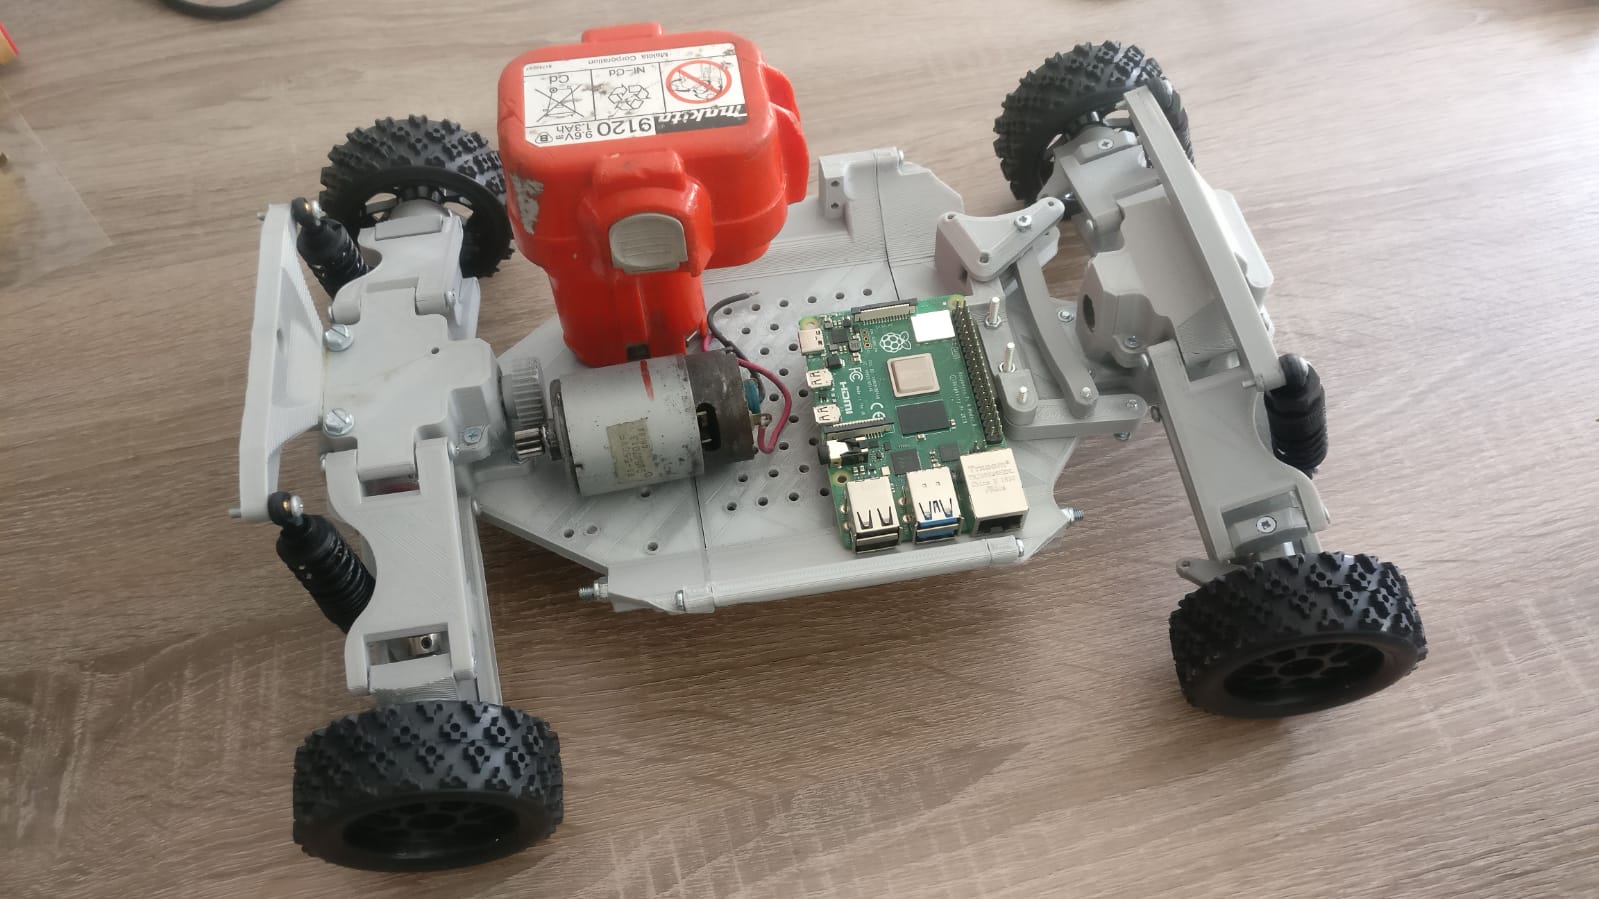
I knew, I do not need a high-end CAD (Computer aided design) program to model my car. It needs to be quick and easy to use. I found an online CAD browser program: Tinkercad. It is very intuitive, free and no download required. I started by modeling the parts that were going to be on the car, because I wanted to get a feeling about the general size of the car. The following were modeled:
- electric engine (from drilling machine)
- lithium-ion battery (from drilling machine)
- motor controller
- arduino uno
- raspberry pi
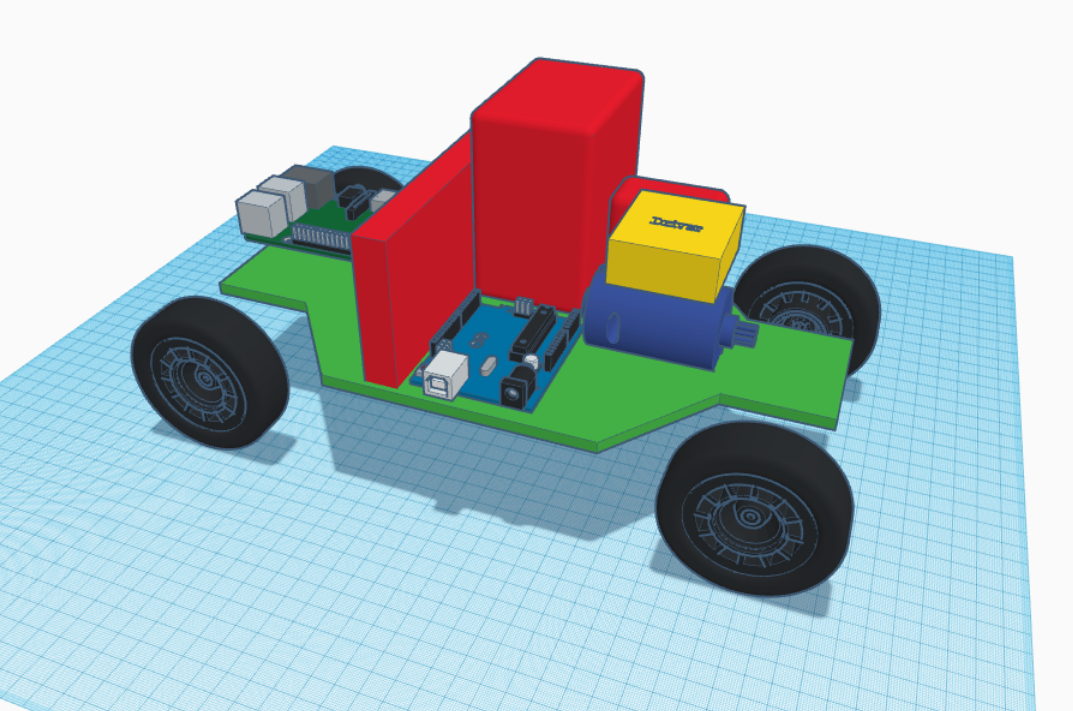
With this simple model, I knew how big the car needs to be. The first thing, every engineer should do when starting a project: See if someone else had a similar idea. So I went on google again, searched for 3d printed cars and found some. One of the projects was exactly the size, I was looking for. The project is from Kris Shellman, Tarmo3.
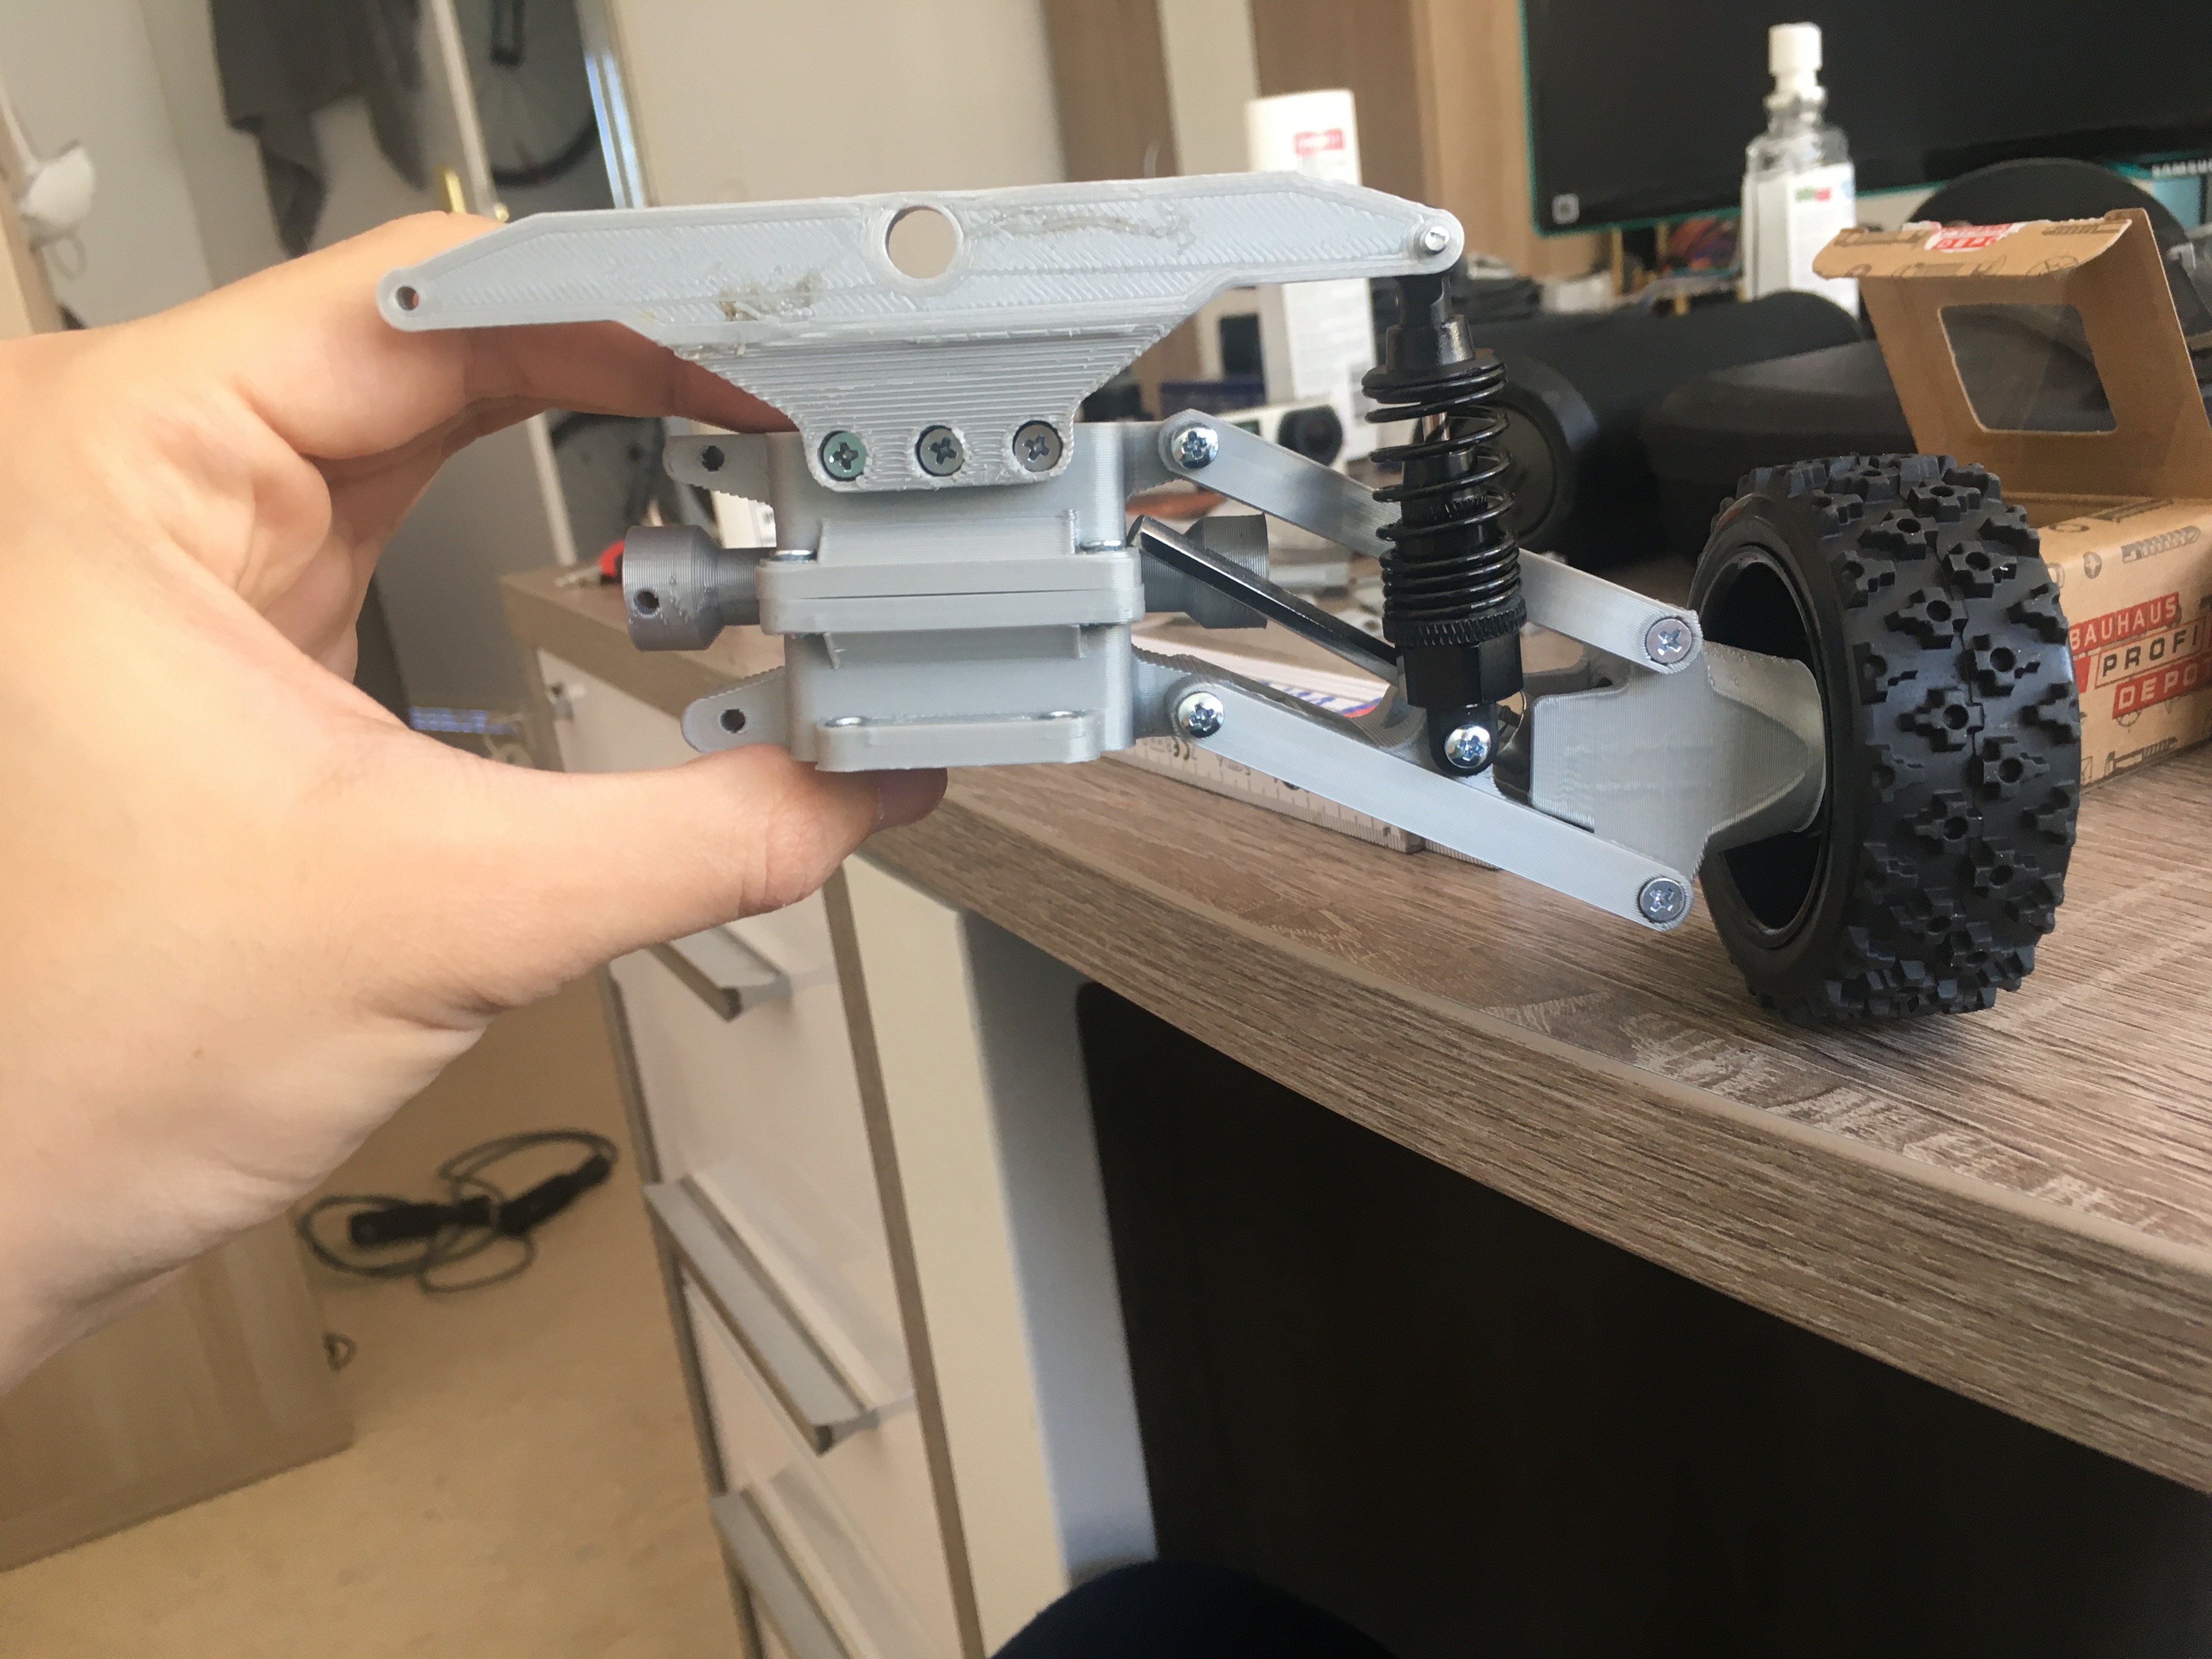
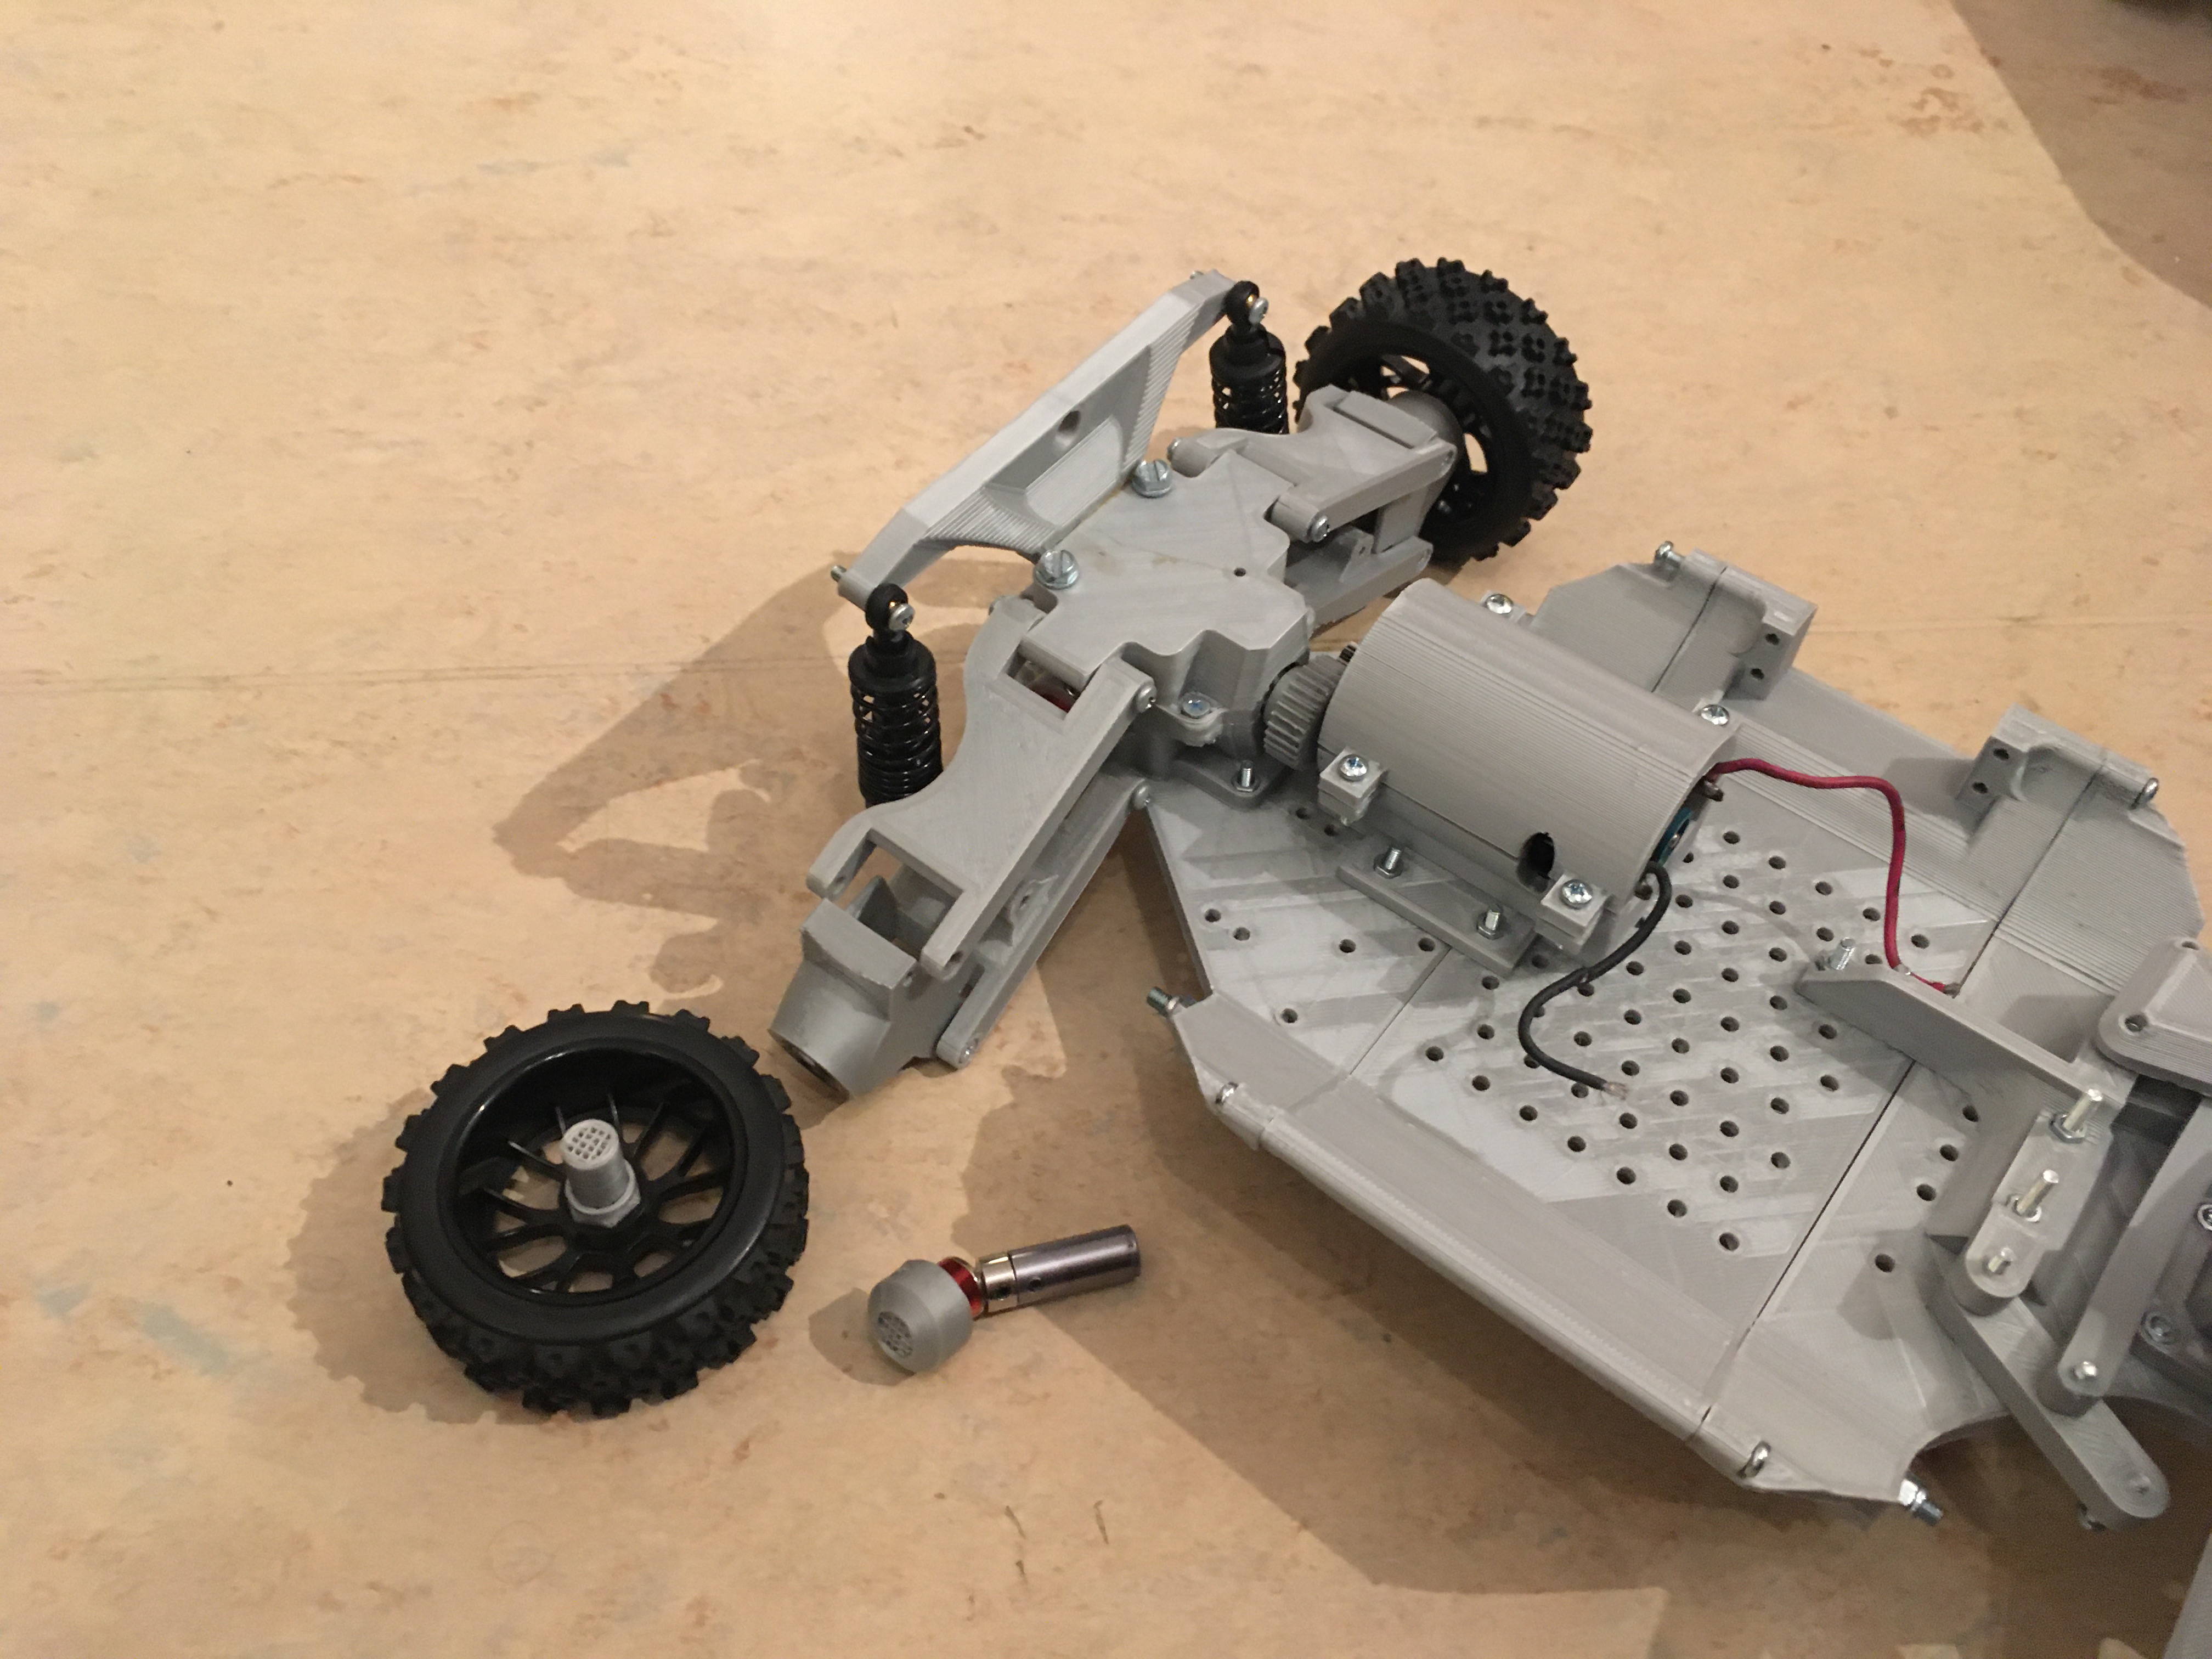
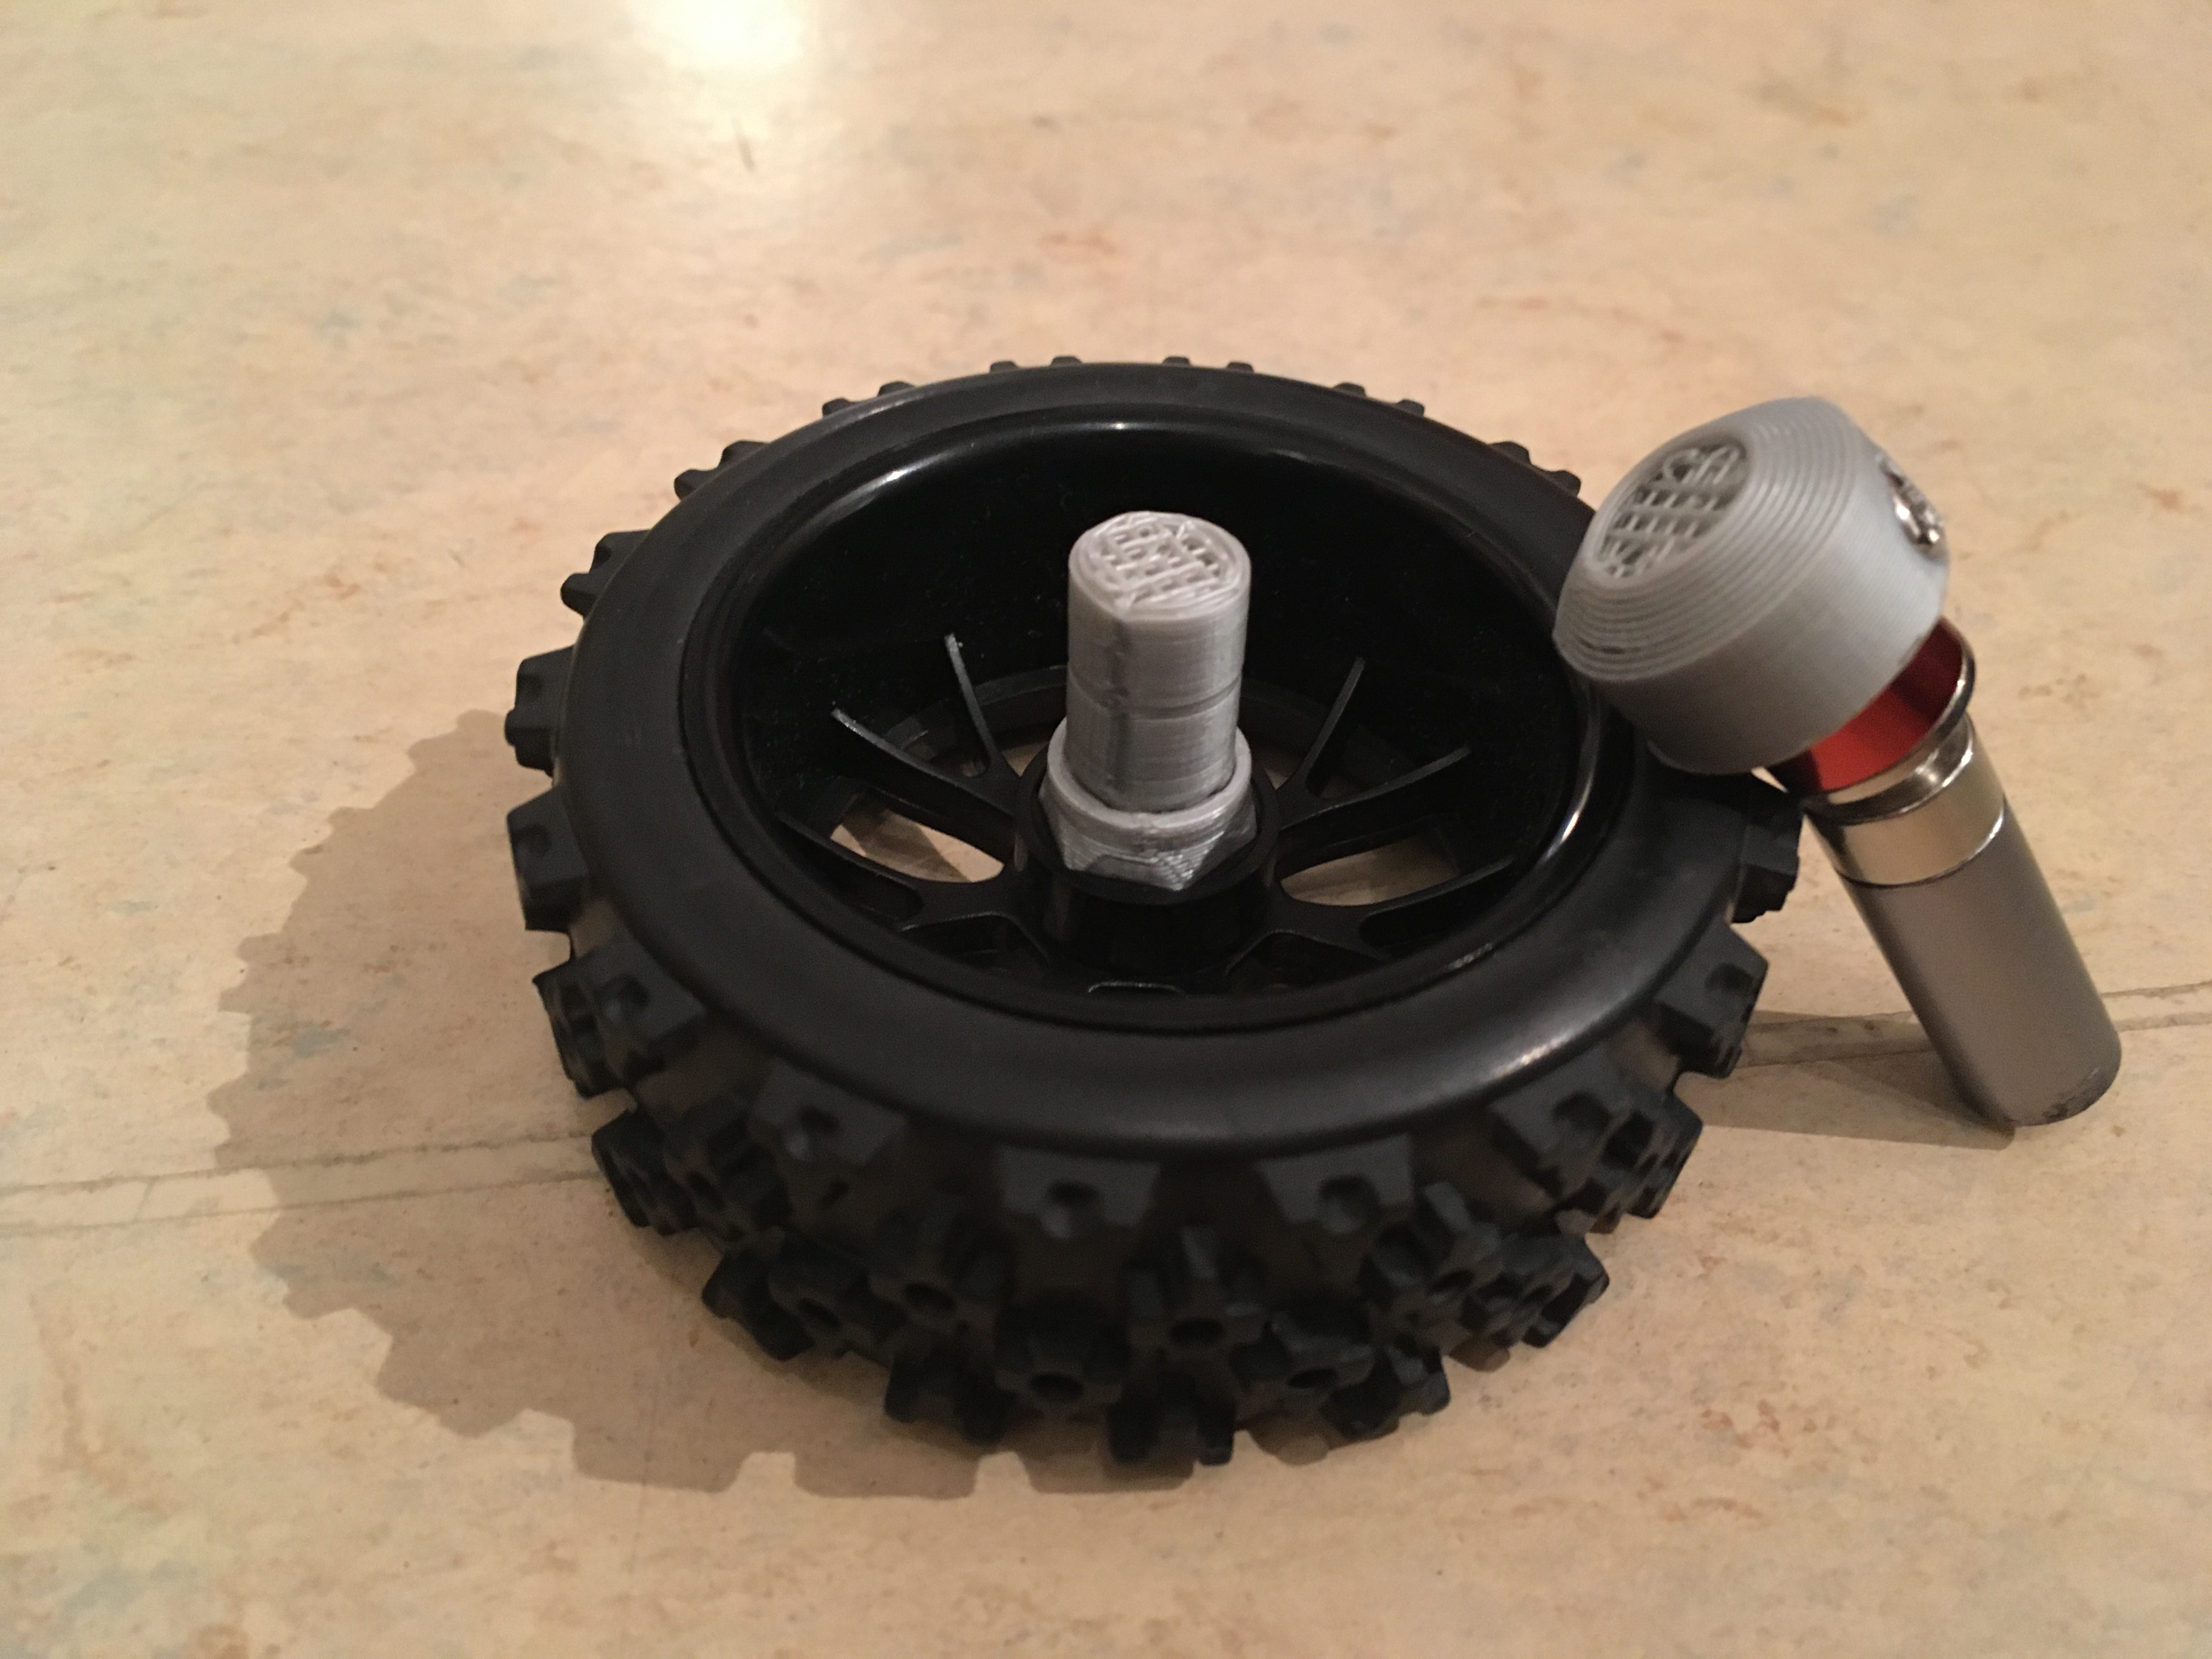
I used his chassis of the car and disgned the full drivetrain, gears and axles by myself with Tinkercad to fit my needs. I knew, my engine was a lot more powerful than from different cars with this size. The quarter car here looked a lot cleaner, is cheaper and a lot easier to build.
Following the first test with the electric engine
and the full body with a raspberry pi for size comparison
ROS Communication
More about this in the futur. Stay tuned ![]()
-
communication structure of rosduino (show rqt graph)
-
explain ssh and ros wifi communication (master/ slave)
-
what is the laptop, raspberry pi and arduino for
SLAM
More about this in the futur. Stay tuned ![]()
SLAM (simultaneous mapping and localization) of my room with the Intel® RealSense™ D455 depth-camera. The pointcloud is visualized in real-time in rviz for ROS.
The blue lines refer to the path the camera took to map the room. You can see, I basically stood up and rotated the camera for mapping as you can see in the video above.
Path planning
More about this in the futur. Stay tuned ![]()
-
explain the concept of surface normals and elevation map
-
RRT* path planning
Outtakes and Failures
On this topic I am going to talk about things that did not work and lessons I have learned.
Never attach an electrical engine directly to the battery
I attached the electrical engine with an enginebox to the body of the 3d printed car as well as a battery holder.
Nevertheless, I was too lazy to set up my controller to test whether or not my construction works. On the other hand, I was too curious to find out. So I decided to simply connect the electrical engine to the battery and leave out any type of control (PT1 time delay or similar). As you might imagine, this is not a good idea to do with a 750 Watt engine. Sadly, I did not record it and luckily, only a small and easy replacable part broke.
Video
First remotely controlled test ride.